
The process of creating what I thought would be a straightforward project has expanded. So, rather than one long post, I decided to break it up into several which follows my previous intro post of this newest piece.
After the disappointment of not being able to get a useable print of the desired motifs on fabric....I began again.
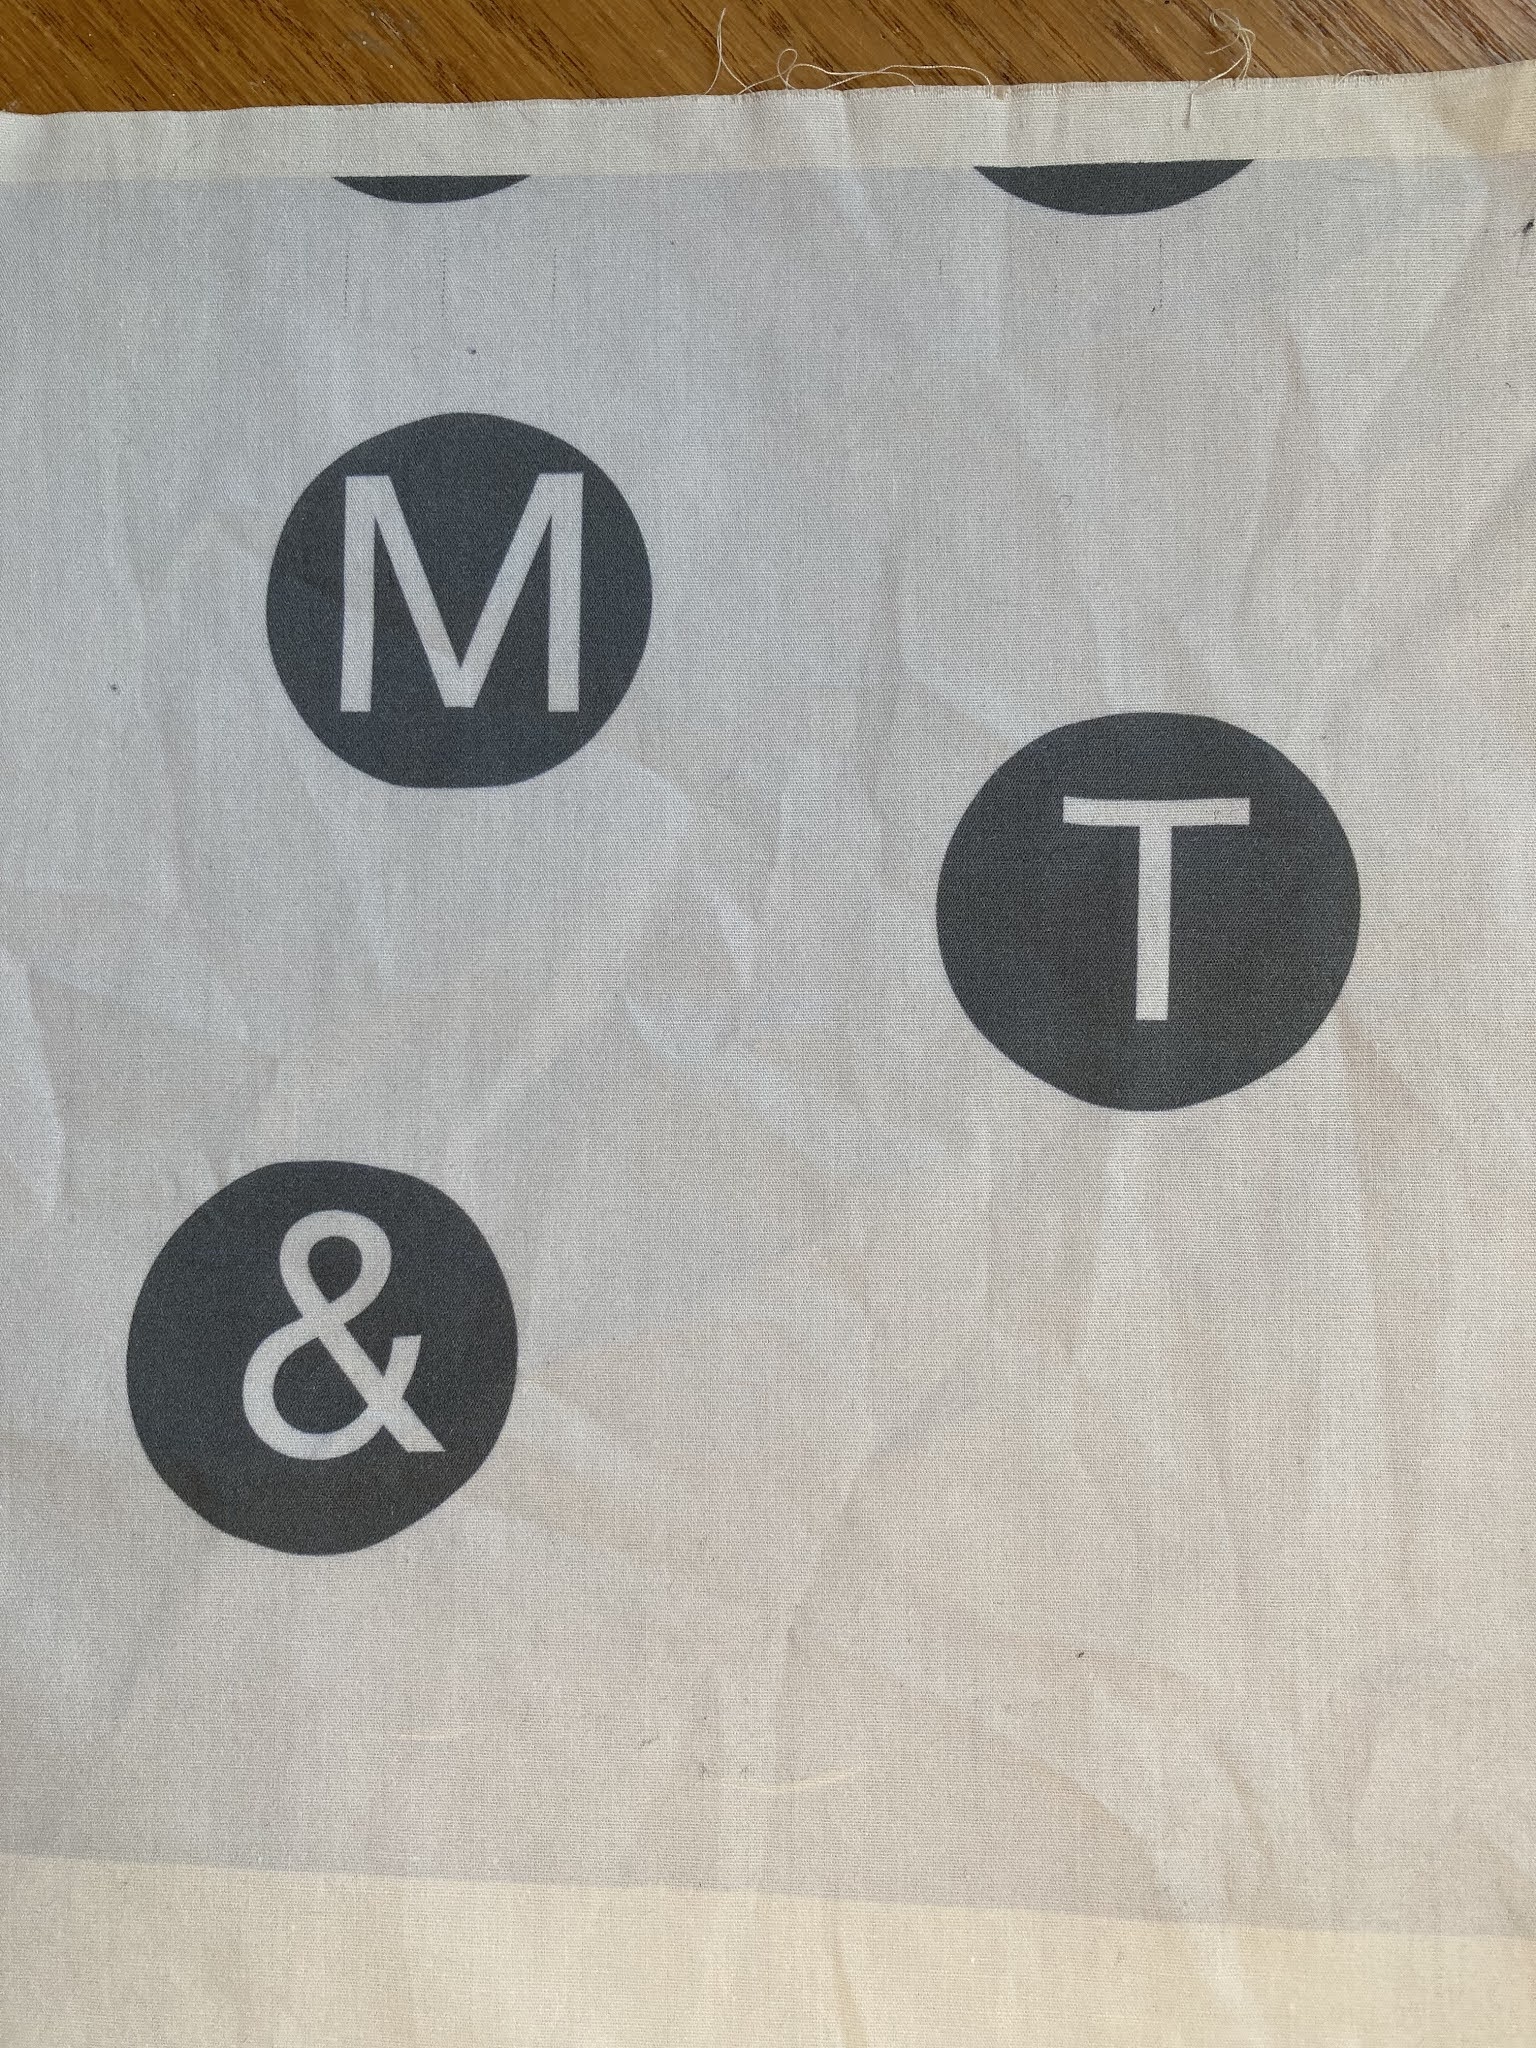
Here's the rejected fabric that had been scanned from a laser print (without the offending lines in the black circles) into my computer, and then printed using my ink jet. Notice the greyed background which was also reflected in the lettering. Though the photo here looks like the circles are black, in person they are quite gray. Too gray for my purposes.


Are you getting any ideas of what these images will be???
No comments:
Post a Comment