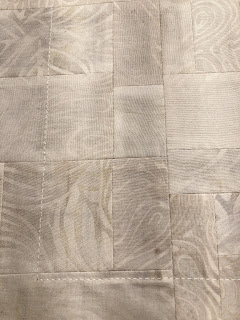
The next step was to build a background for the motifs.
The color is actually ivory but I wasn't able to get the camera to believe it! It consists of small patches of varying sizes.
I like to document the outside edge of the finished piece with basting to aid in positioning the motifs correctly. Here it was done by machine, but most often I baste by hand.
Another poor quality photo but perhaps if you squint....
I've cut a 12" square of batting and positioned on the wrong side...again with the aid of my pre-marked shape. This piece will ultimately be attached to a canvas covered wood frame and set into a shadow box. Because of the seam's bulk on the pieced top, the batting was eliminated in the areas that wrap around the canvas.
With the aid of a ruler and painters tape....I began to stitch straight quilting lines.After only a few, I decided I didn't like it.....so out can the seam ripper.
Instead, random diagonal lines were used to provide more interest.
The next post will reveal the design (though you may have guessed the subject matter by now). As usual, it's not a simple matter of just fusing....oh heck no.....I make it much harder for myself than that..... See you soon.....


2 comments:
Oh, you tease! I do like the random diagonal lines.
Interesting.... you did set some hoops to jump through, including the ever-fun seam ripper time!
Post a Comment