

At last....I'm satisfied with the tree motifs which are pinned in position to the quilt top on my design wall.

I came up with a clever trick numerous years ago when working on a piece that required precision placement of its many small design elements. Rather than trying to move work this size to a pressing surface and hoping nothing shifts (of course it will), I use a Clover mini-iron to tack each piece in place. Once the elements are temporarily secured, the entire piece is transferred to a large pressing surface and permanently fused together.

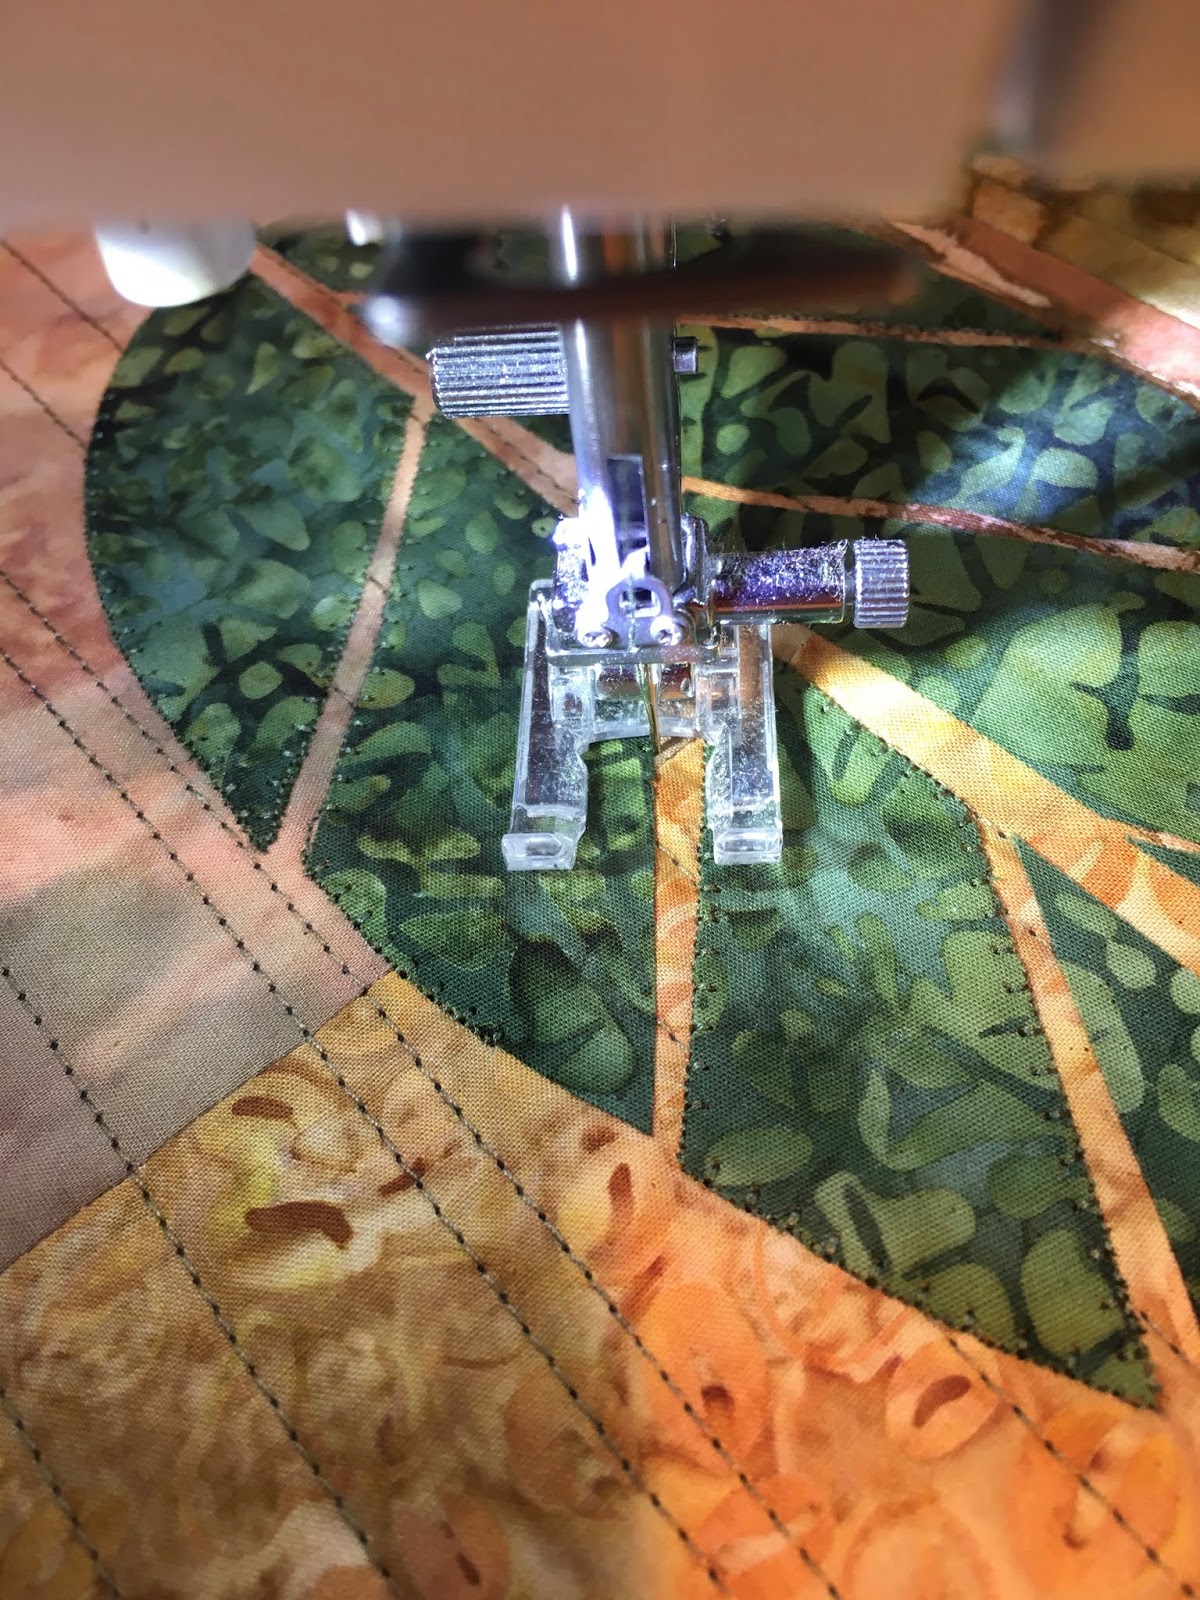
With matching thread, I've machine appliqued each section. The machine is equipped with an open toe embroidery foot and programed with a narrow blanket stitch.

Again, being the control freak I am about tidy workmanship, I pull the beginning and ending thread ends on each and every section to the wrong side and tie off. Yes, it's very time consuming....and it's just another example of why it can take me so much time to create a quality wall art quilt.
It's almost finished.....stay tuned for the rest....
4 comments:
Wow, love it!! That you are fussy about workmanship is not a surprise, your pieces are fabulous.
Yes! Those leaves are perfect on this. Those unacquainted with quilting/sewing would never guess the detail and effort that goes into even a small quilt! Your workmanship sets a standard! Tying off every section truly is time consuming, but will prevent thread ends and add to durability in the long run.
I love the visual balance you have created. The background fabric combination makes the piece so interesting. Thanks for the tip about using a small paintbrush for that fray check. I had almost given up on it as it tends to flow too quickly for me. I pull threads to the back as well, because it does look more tidy. Have a wonderful rest of your creative day.
Love seeing this process!!!!! It's stunning!!!!!
Post a Comment