Wednesday, June 30, 2021

MINI NOTEBOOK COVERS

Inbetween art quilt projects, I find it satisfying to create notebook covers.  These minis are an excellent way to utilize small, but precious, bits of special fabrics.


4.50" x 3.25"

Tuesday, June 29, 2021

SUBSCRIBE

 The last day Blogger's Feedburner will be active is June 30th.  If you don't want to miss any of my posts via email, please subscribe again.  Follow.it will send you emails whenever I post.  

The LINK is on upper right.

Monday, June 28, 2021

BLUE RIDGE MOUNTAIN BREEZE

Many hours of hand stitching on this one.....
 BLUE RIDGE MOUNTAIN BREEZE  -   13" X 13"
SOLD
Hand-dyed cottons, Ultra-suede, hand & machine applique,
hand embroidery.
DETAIL


Sunday, June 27, 2021

SNEAK PEAK

 Okay.....perhaps I shouldn't be such a tease.....here's a sneak peak at what's coming......piece still in progress.


Saturday, June 26, 2021

HAND WORK ALWAYS SLOWS THE PROGRESS DOWN

 Nope, it doesn't look like much from this view.....however I've actually been working on this new piece exclusively for about a week. Hand appliqué & now the addition of hand embroidery has to be approached with patience......it just takes time.

More to see real soon.......

Wednesday, June 23, 2021

GELLI PRINTING

REMINER - Blogger will end Feedburner's email subscription service in 7 days.  If you'd like to continue receiving my blog via email, please re-subscribe (with Follow.it) using the link on the upper right. 


After more than a year meeting fiber friends in person...we are trying to make up for lost time.  Several pals who belong to our Mountain Art Quilters Group gathered for a day of gelli printing.

Some were super productive, others took more time being thoughtful about their images.


I purposely stayed with a few select colors, mostly greens as seen above and below.  Can't wait to see what they will inspire.
The time is now....grab some of your fiber buddies and make your own play date!

Tuesday, June 22, 2021

THE QUICK BROWN FOX.........

AND.....perhaps if you recognize the title of this piece, you will also know what the motifs represent.


THE QUICK BROWN FOX........  13" x 13"
Cottons, pieced, appliqued, quilted.

To answer the question before you ask....NO there is no hidden message....the motifs are typewriter keys....just typewriter keys!

Monday, June 21, 2021

ADDING MOTIFS & ASSEMBLING

The process continues.......
The motifs are arranged with the aid of rulers.
 
All the motifs are arranged within the boundaries of the piece &  fused in place.
Appliqué begins using my documented machine settings. Each one is edged stitched to keep them flat just inside and outside the zig-zag stitching.
I'm a fan of pulling ALL threads to the wrong side and tying off. Lightweight stabilize was then removed.

 Fray Block is applied along the edges of the small lettering to prevent fraying.
The finished top is positioned on a canvas covered frame, wrapped and secured with staples.  A label is added and the unit is fitted into a shadow box frame.
Finally, the back cover of the frame is secured and another label added.

Please visit tomorrow to view the completed piece and see if your design guess is correct.

Sunday, June 20, 2021

NEXT A BACKGROUND IS CONSTRUCTED

The next step was to build a background for the motifs.

The color is actually ivory but I wasn't able to get the camera to believe it!  It consists of small patches of varying sizes.

I like to document the outside edge of the finished piece with basting to aid in positioning the motifs correctly.  Here it was done by machine, but most often I baste by hand.
Another poor quality photo but perhaps if you squint....
I've cut a 12" square of batting and positioned on the wrong side...again with the aid of my pre-marked shape.  This piece will ultimately be attached to a canvas covered wood frame and set into a shadow box.  Because of the seam's bulk on the pieced top, the batting was eliminated in the areas that wrap around the canvas.
With the aid of a ruler and painters tape....I began to stitch straight quilting lines.
After only a few, I decided I didn't like it.....so out can the seam ripper.
Instead, random diagonal lines were used to provide more interest.

The next post will reveal the design (though you may have guessed the subject matter by now).  As usual, it's not a simple matter of just fusing....oh heck no.....I make it much harder for myself than that.....   See you soon.....


Saturday, June 19, 2021

TRY TRY AGAIN!

The process of creating what I thought would be a straightforward project has expanded.  So, rather than one long post, I decided to break it up into several which follows my previous intro post of this newest piece.

After the disappointment of not being able to get a useable print of the desired motifs on fabric....I began again.

Here's the rejected fabric that had been scanned from a laser print (without the offending lines in the black circles) into my computer, and then printed using my ink jet.  Notice the greyed background which was also reflected in the lettering.  Though the photo here looks like the circles are black, in person they are quite gray. Too gray for my purposes.
I went back to the computer and printed onto paper, more letters and symbols to be included in my piece.  They'd become templates...........
.......to trace in the REVERSE onto the paper side of Wonder-under that had been fused to a light colored batik. TIP - trace on the bias of the fabric to reduce frayed edges.  Each small piece would then be cut out and fused to a black circle.
Before proceeding with the step above, first I wanted to experiment to determine the color, size, density of the edge stitch I'd use to attach the back circles to the body of the quilt. Once satisfied with the results, they were documented along with the stabilizer I used.  It was retained for when I was ready for that step.

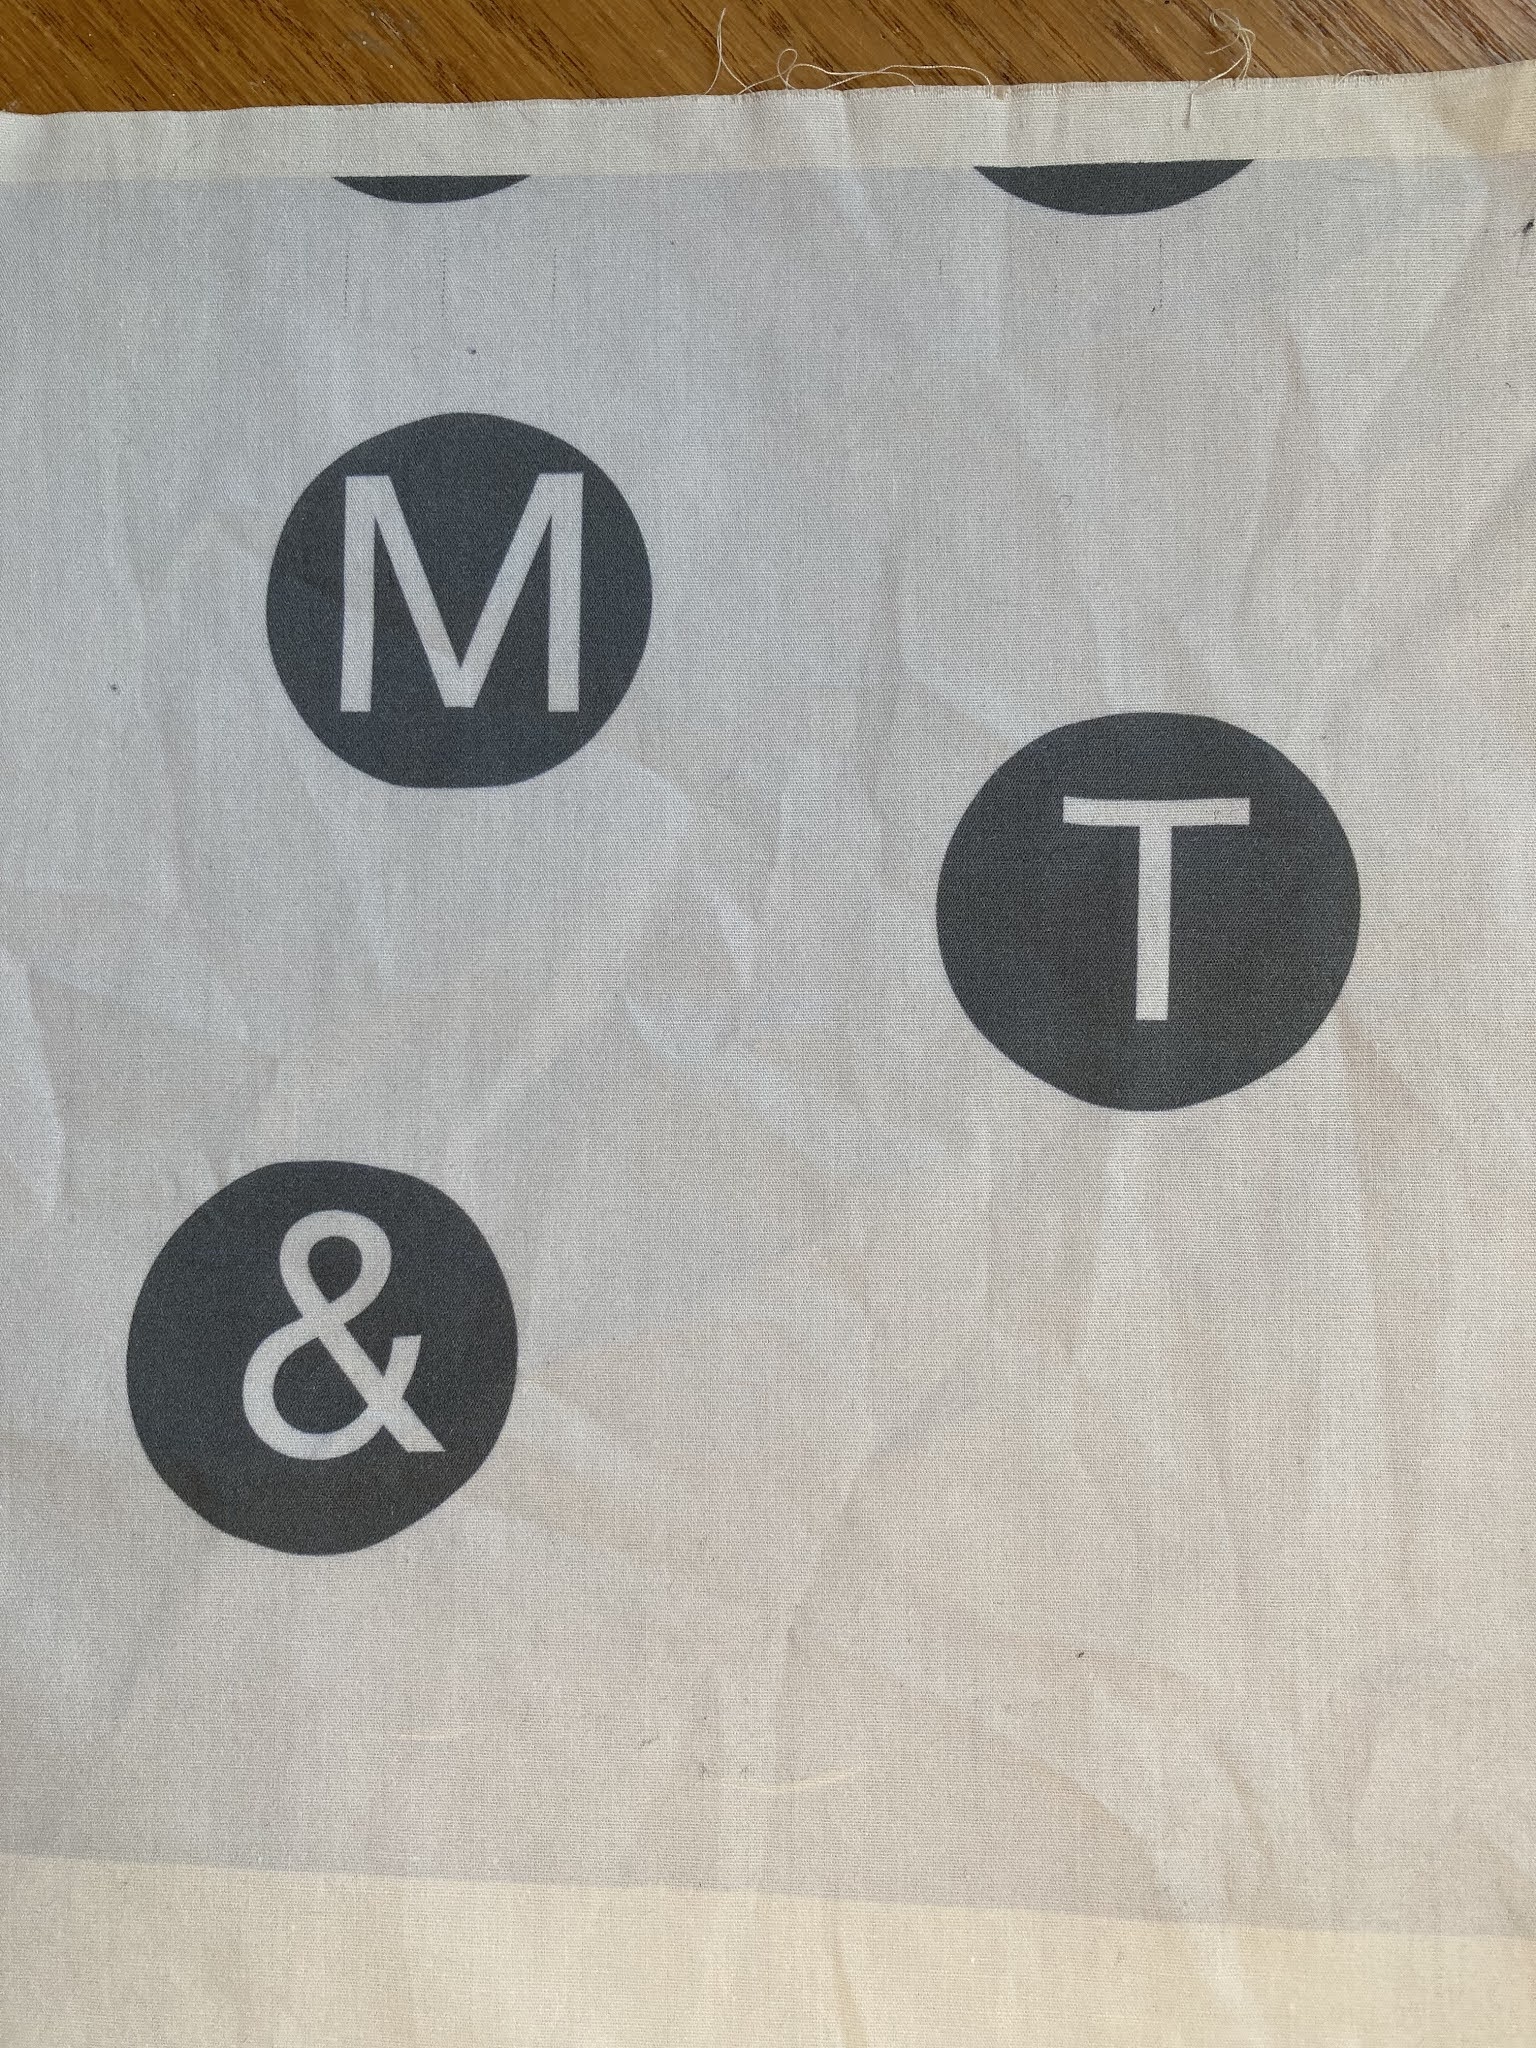
Are you getting any ideas of what these images will be???