Friday, May 5, 2017

TAMING DYED FELTED WOOL

This week I've been blogging about the various methods pals Kate & Judy and I played with during a dyeing marathon.

I addressed the two-step approach that finally helped me achieve color on the different fibers used to manufacture National Nonwoven's Woolfelt.
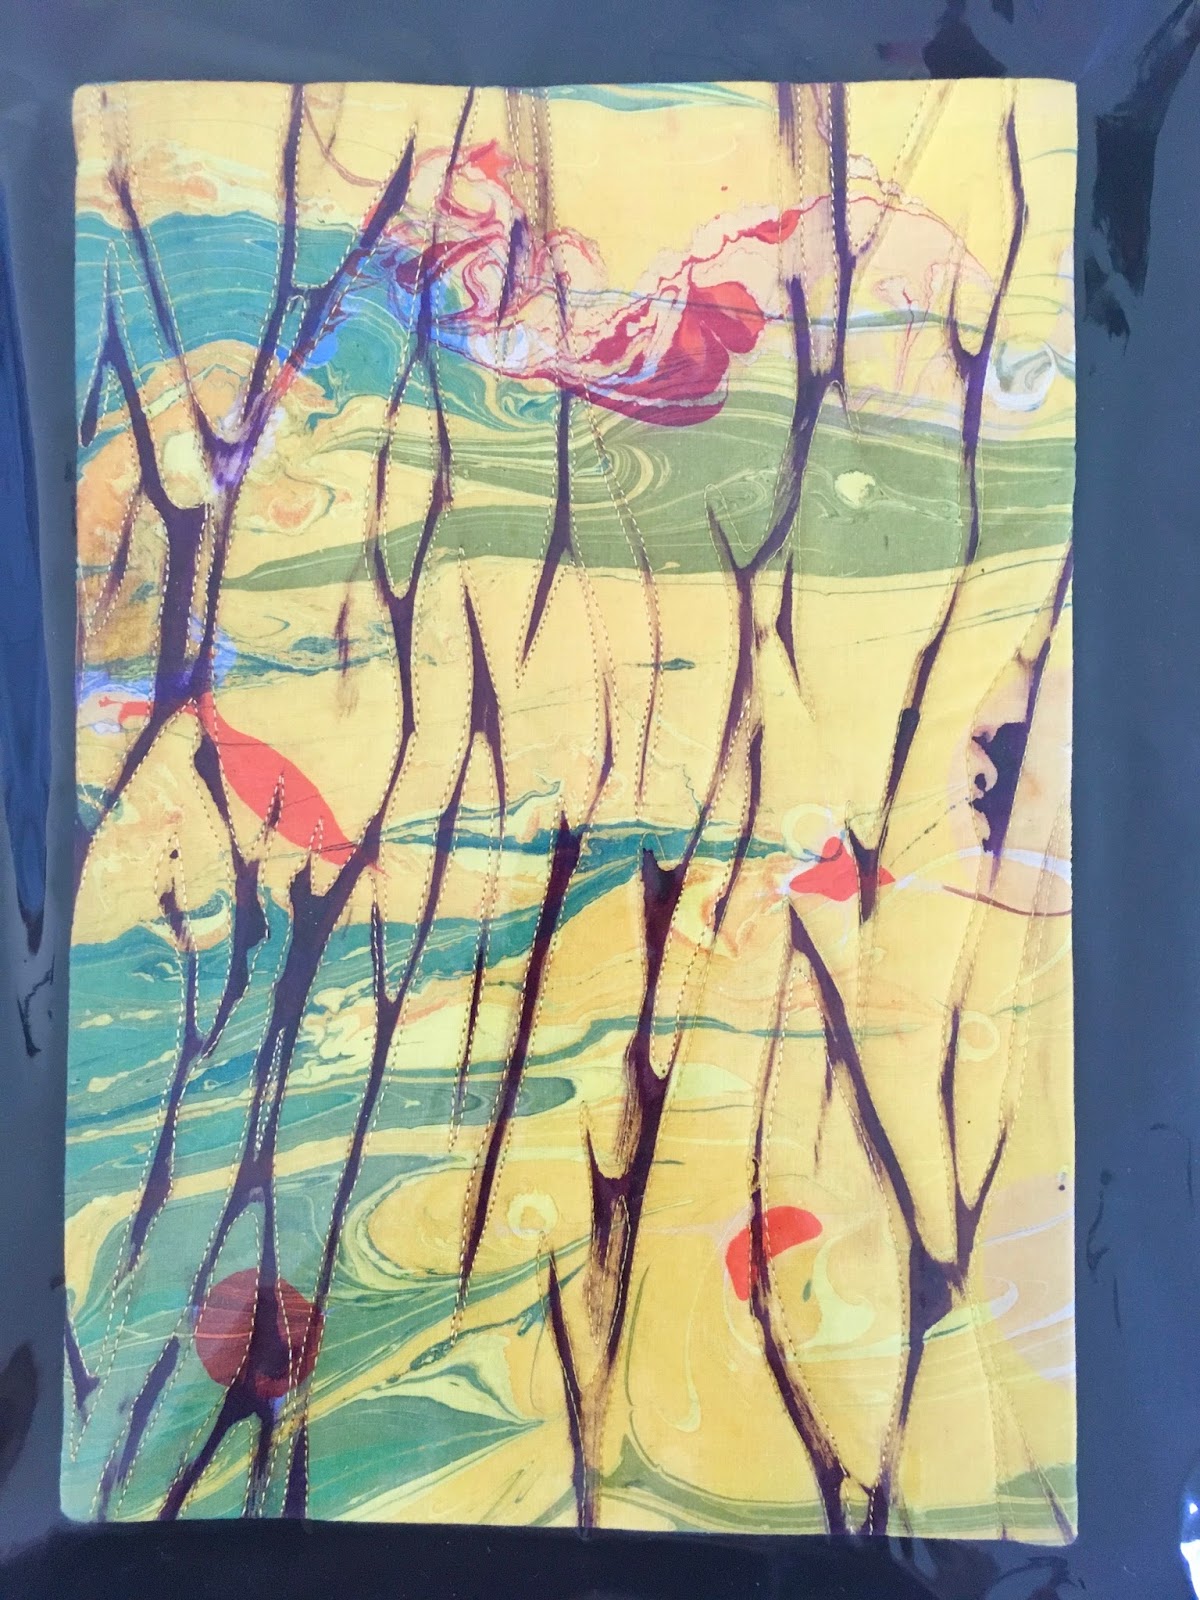
One other common issue that develops during the drying process is the wavy edges you see on this piece above.  Steam pressing often does not remove them.
So at home, working with dampened wool, I stretched the piece flat, pinning the edges to a piece of cardboard.  It was left to dry for 24 hrs....which solved the problem! Of course I could have done that after the fabric was rinsed, BEFORE it dried.....but given the environment where we worked, it wasn't practical.

Check out these links to see what others have been working on this week:  Nina-Marie's Off The Wall Friday, Sarah's Whoop Whoop Friday, and Crazy Mom Quilts.

Wednesday, May 3, 2017

DYEING MARATHON - PART 3

I'll spare you from having to look at the many dozens of pieces I dyed.  Instead, here's a look at some of the methods we utilized.
 This is a piece of ice-dyed Woolfelt. As I mentioned in a previous post, MX doesn't dye wool successfully, therefore the 20% wool fiber content of this National Nonwoven fabric appeared as white fuzz.  Using clips to hold the folds of the fabric, it was reprocessed in an indigo acid dye bath. Photo here.
 We use a large canning pot, heated over a burner fueled with propane for acid dyeing.
 I frequently work with silk noil.  Here are two disappointing ice-dyed pieces, scrunched with rubber bands and treated to an acid dye bath to create more color/texture.
This silk noil piece began as a solid light khaki color.  Borrowing a shibori folding method.....held together with string, this too was processed in our indigo acid dye pot.
 We all agreed, this piece was one of my best results.  Ice-dyed silk noil, using leaf green, stormy gray, and straw MX dyes.  We just love it when the colors split!!
 We did a LOT of over-dyeing this time.  I had 4 barn red good quality napkins that had gotten stained....and you know how that goes.....no matter how many times you pre-treat and wash....the stains remain.  The answer:  Ice-dye!!  If I'd had known it would work so well, I'd have brought the placemats that matched!
 Kate is modeling an over-dyed hand quilted whole-cloth vest I'd given her. I know the photo is poor quality but I assure you the results weren't.  I still have a closet full of wearable art from my teaching days, fashion shows, and books. I'm thrilled to pass them along when anyone expresses interest in a piece.
The last evening our piles are impressive....and the trading began!  We not only return to our daily lives with lots of beautiful fabric but with treasured memories as well.

Monday, May 1, 2017

DYEING MARATHON - PART 2

Ice-dyeing is a subject I've covered many times on this blog....and one the three of us do regularly on our Folly Beach jaunts.  The following is not meant to be a tutorial....rather an overview of our approach.
 We work on a large concrete pad beneath the house with an enclosed utility/storage area attached.  We assemble all our dyes together...(note the microwave....we micro-waved dyed this time as well.....mostly over-dyeing pieces that needed improvement!)
 We've done this so many times that we've really developed a system....here we have kitty liter pans labeled with the main color we've chosen to dye with....and each of us add fabrics as desired.  
Big buckets are prepared with a soda ash solution, this one now contains all the fabric we had selected for our 'brown' batch. 
 Large bags of ice have been purchased and kept in a cooler.  Kate is preparing one by breaking the cubes into manageable sizes with a rubber mallet.
We can never remember what combination of dyes we used...esp. if we want to either avoid doing that again or repeat when results are superior.  So, now we take a reference photo of the 3 or 4 we use for each pan.
 Fabrics are arranged on a screen placed on top of a kitty liter pan.  Ice chunks are placed on the fabric (sometimes we tray dye as well....placing small amounts of fabric loosely spread out in the pan).  Judy, showing excellent dyeing precautions is wearing rubber gloves and a mask as she sprinkles the dry MX dye power onto the ice.
 Each pan is covered with black plastic, secured with clothes pins and set in the sun to batch.  This is what we did the first day (with maybe one or two more that weren't in the photo).  Not bad considering we didn't arrive till around 1:00 PM).  Sincerely, we've worked together so often we almost have an assembly line method now.
 The next morning when the plastic is removed....all the ice is melted and the delicious colors are revealed.
 Ever tweaking our system....Kate came up with the back saving idea of using a tall work trolley to wash out our fabrics.
Once the water runs clear, the fabric is re-washed with Synthropol in a washing machine and hung to dry.

We save the pressing to do during happy hour where there is always a lot of squealing and laughter....and yes, sometimes outright begging to trade!

More to come on the next post.

Saturday, April 29, 2017

DYEING MARATHON

Bliss......I've been away with pals the last four day doing a dyeing marathon at a friend's home on Folly Beach, SC.  I'm considering weighing my stack of  fabric....surely it must be 10 pounds or more.....

Here's a sneak peak of some of my results.....more to come when I can take a breath....and stop itching from all the chigger bites!!  They LOVE me....and this trip I vowed to add another layer of protection besides the outside spraying my friend does.  My skin/clothing/and even hair was drowned in bug spray....and I thought I'd gotten away with only a few minor bites...not so....but worth every annoying itch! 
 Cotton long sleeve t-shirt that had been light tan, turned into a weird pinkish after accidently being washed with bleach in a load of whites.  Now, after some ice dyeing....I have a brand new t-shirt!!
 Ditto for this sweat shirt......it started as a pale yellow...that always looked dirty....now it has a new life....though I wish it would have come out more red.....I have an aversion to anything pink.
Hooray......3 white pieces of National Nonwoven's Woolfelt were ice-dyed, then overdyed with acid dyes.  Woolfelt is available in a variety of fiber contents.  The most common is 80/20.  One would think that means 80% wool - 20% rayon.  Actually it's the opposite....so when dyeing with MX the results are generally beautiful BUT there is always a flim of undyed white wool fibers. Those wool fibers will take up color when over-dyeing in an acid dye bath and the results are so lovely.

Check back.....I'll be posting more soon.

Tuesday, April 25, 2017

XRAY FILM

At the Fiber Junkie's March meeting, our focus was working with alcohol inks.  
 I'd read about using plastic sheets/transparency products and decided to see if the inks would adhere to some Xray film.  I'd unearthed more than a dozen big sheets from a past medical issue that were of no use to me now.

The inks didn't work.  Hey...a girl's gotta try right?  I gave some to Val because I just KNEW she's come up with a brilliant way to utilize them.
.....And she did!  Here's a prototype of a coaster.....a section of the film has been cut and adhered to felt.  I tried it out using a hot coffee mug....results "A+".  Next I'll see how it holds up to a glass filled with an icy cold beverage.

Kuddos to Val.....

Monday, April 24, 2017

FIBER JUNKIES APRIL MEETING - PART TWO

This focus of this month's gathering was to play with printed images on transparency sheets which are then transferred onto fabric that has been lightly treated with a matte medium. 
The first step: Judy scanned our chosen images into her computer....while Gen and Kate watch.  She uses Photoshop Elements to manipulate the image if desired (darken/change size/etc.)  The image is printed onto a transparency using an ink jet printer.  It's then placed (ink side down) onto fabric that has been treated with a medium.  Next a burnishing tool or even the back of a spoon is rubbed over the image until it transfers to the fabric.  It's left to dry, overnight is best before rinsing.
Here you see the pile of images Kate brought to work with.
I actually hadn't planned on making any since I'm not fond of working with the type of 'hand' this fabric creates. However, Kate encouraged me to do one anyway....sharing one of her images...........
................and a rust dyed piece of fabric she'd brought.
 AND....am I ever happy she did..... I love it! Thank you Kate.....
 Val is such an accomplished artist.....here are some of her drawings that she'll use to transfer to fabric.

Val got ambitious and used a color print.
....Which was transferred to another hunk of Kate's rusted fabric.  Val had brought some of her lovely painted fabric designs that she had planned to use.  However, we soon learned that this technique was not suitable...the medium wouldn't soak into the painted fabric nor did the ink-jet images stick.  That's what we love about our experiments....we always learn something!
 Denny brought some dyed fabrics for her backgrounds.
She's creating a series of images of the houses she's lived in....soooo clever!
We all went ga-ga over Gen's piece......the transfer was done with color, yielding  a great deal of depth and detail to her piece.

Next month's date is already on our calendars.  We will be heading back to Val's wet studio for some deconstructive screen printing.  We've done that a lot....but continue to find it one of the most fun and successful techniques to play with.  Happily, thanks to Val's generosity....we will invade her space from May to late fall, focusing on all the messy methods we enjoy.


Saturday, April 22, 2017

FIBER JUNKIES APRIL MEETING

Fiber Junkies meeting day is one we all eagerly look forward to each month.  We played with transparency transfer.....more about that in my next post.  Right now here's some eye-candy from our show and tell.
 Judy hosted us in her beautiful, well equipped studio.  Her design wall is envied by us all.....it's huge.  Her piece from our PTA retreat was displayed as she continued to tweet the color placement of some hexes.
 And another set of quilt blocks ready for their final piecing.
 Kate has been on a tear, digging deep into her stash of scraps......determined to use them!  Here she's utilized leftover strips.
 Cleverly showcasing some on the backing as well.
 Kate's small piece from a SAQA Traveling Trunk show was recently returned...we all drooled over it.  She combined marble printing with shibori for this colorful piece.
 Detail
 Attribution
 Denny brought a fabulous piece that she made as her final project in the Hollis Chatelain Master class which she's been participating in for nearly 10 years.  It depicts the scene she experienced during the 'Women's March' in a park in Greenville, SC.
 Val makes the most wonderful books....this cover features acrylic paints applied over a quilted/stitched layers.
 The inside cover is on the left, the face page on the right.  It's made with hand-made paper.....which was eco & indigo dyed.
 Center fold of book - paper with rusted and eco-dyed images.
 Gen has been spending time following collage exercise guidelines (book below) to create these charming designs.
Check back for more Fiber Junkies adventures....won't you?!?