Showing posts with label screen printing. Show all posts

Sunday, June 5, 2016

FIBER JUNKIES MAY MEETING IN JUNE!

There has been both major and minor distruptions in the lives of FJ's members so this meeting was so looked forward to when everyone was able to attend. YEAH!!
Despite the forecast of rain....we had a dry sunny day which allowed our deconstructed screens to dry quickly.
A plastic table cloth is the gathering point for our materials....many were in use when I snapped this picture.
My day was not productive at all.....I had numerous failed ice-dyed wool felt pieces that needed another opportunity to become attractive, so I mostly mono-printed.  Here I've pressed a plastic sink mat, coated with thickened dye, onto the fabric.  I won't even bother to show you the finished look......there wasn't enough contrast/color to make much of a change.

That's the extent of what you'll see from my day.....not only was I having a super hard time trying to see with one eye filled with dozens of black dots from my cataract surgery, looking through eye glass prescription that was no longer viable, on top of all that I developed another bad cold.  Have you ever tried to dye/print/work when one's nose drips every 2 mins.....wearing dye covered rubber gloves!  ENUFF said.....

Judy too was having an off day......she's all set with thickened dyes....plant material, her screen etc.
But when she printed.....ugh....there were areas of nothing along with a huge blackish mass.
This group is so very clever and optimistic.....Denny suggested using the bleach crystals she had found for us to save the piece.  
On the other hand, Kate was on a roll......she created screens so quickly she decided to wave them back and forth to get them to dry faster!
By lunch time I was feeling even sicker so my photo review of our day is pretty slim.....but on a happier note.....The exhibit Kate, Judy, and I have at the NC Arboretum is having wonderful sales.  We continue to add new pieces and this patchwork piece and the one below are some of Kate's new additions.

Judy had been busy marbling.....she had piles of these beauties to show and happily shared a few with us.......thanks Judy!

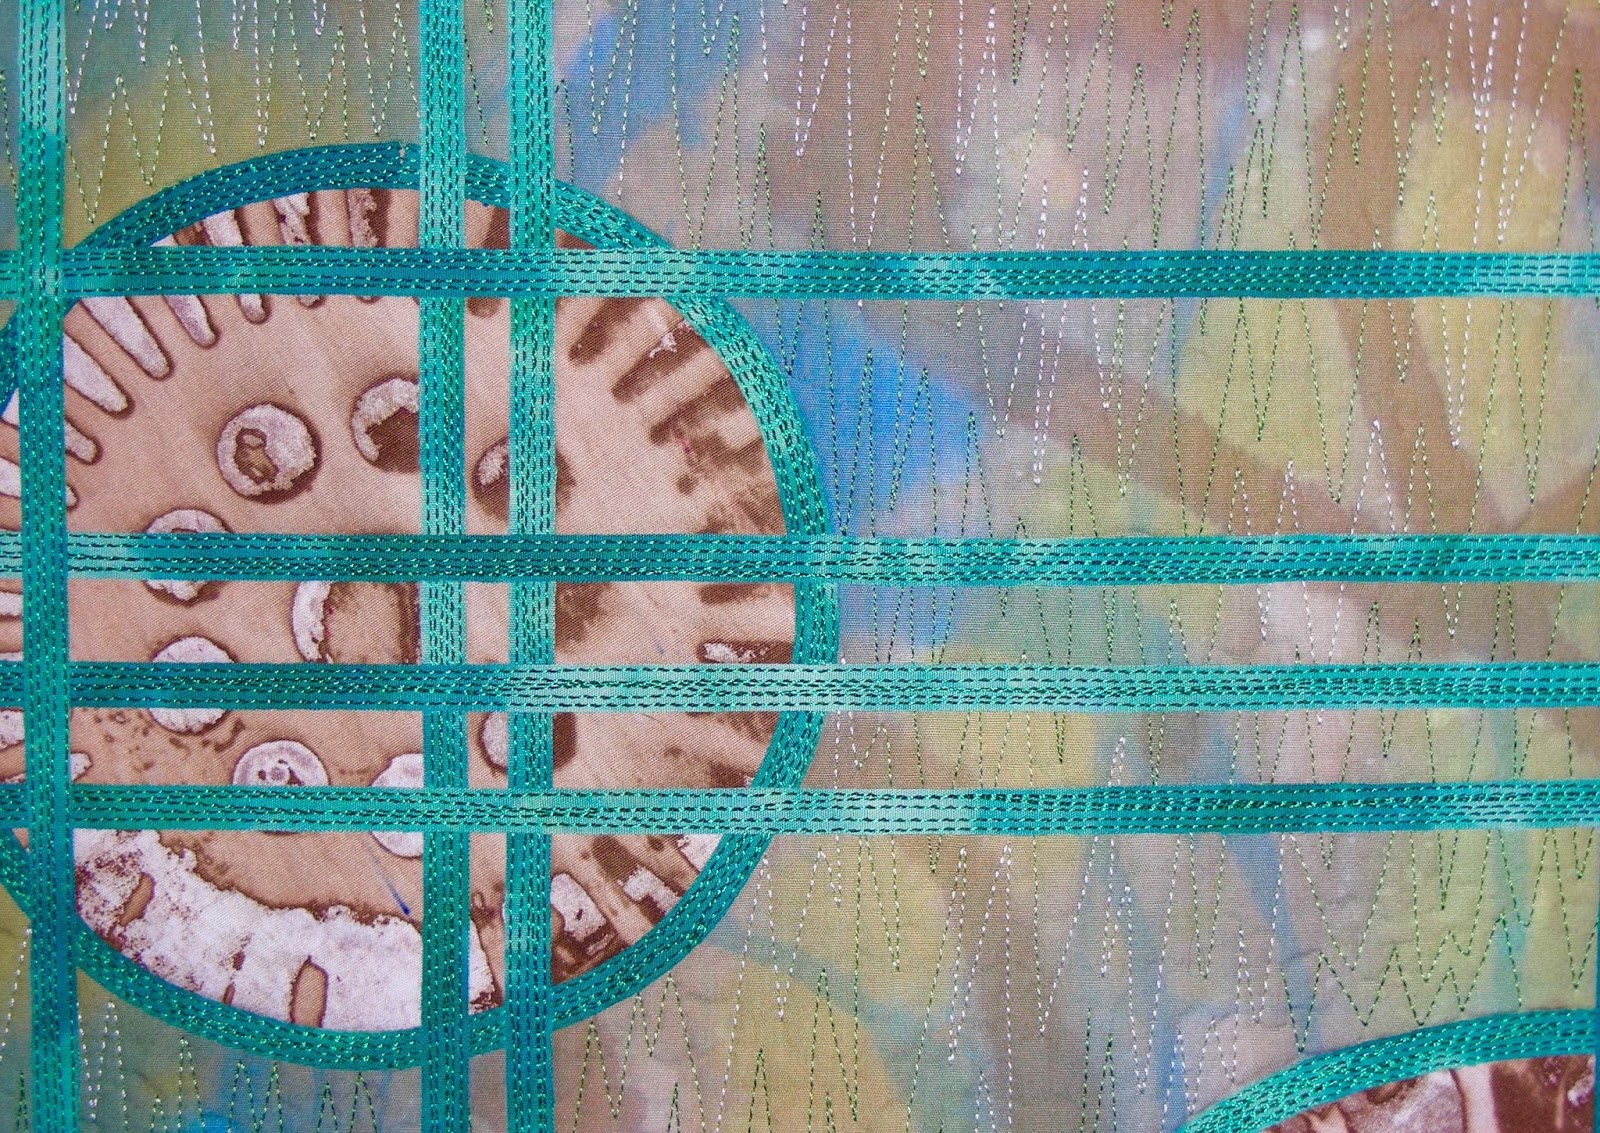
This is another stunning piece that Val designed......I feel that her work tends to have a very dream like quality and no one can combine unexpected colors better than she can!

If you've read down this far you'll know why I may be absent again for awhile as eye #2 ungoes cataract surgery tomorrow. So far, this has NOT been a cake walk, and I'm truly hoping it will have been worth it cause right now all I can say is.....it's not!  With that said, I am NOT a good patient, because I'm not a patient person. However, now that I'm appearing so grumpy with this admission....hopefully the next procedure will have me doing a happy dance......I'll be back before I'm missed......

Tuesday, May 3, 2016

FIBER JUNKIES - APRIL MEETING - DISCHARGE TECHNIQUES

Our most recent Fiber Junkies meeting focused on discharge techniques.  I got so involved that my photo record of our day is pretty thin....but here's an overview of the supplies we tried.
The plastic grid came from Kate....it originally held lace but we thought it'd be a good 'template' for surface design.  I applied a bleach pen to the holes and scribbled around the edge. 
 You never know what color will appear after the bleach does its job.....
We were all anxious to use the granulated bleach that FJ member Denny shared with us.  The results were very mixed.....it did a great job if bleached out dots were all you wanted.  But less successful when it came to using stencils.
It was difficult to control this product when working with defined shapes. We applied it to wet/damp fabric and allowed it to bleach out.....unfortunately these larger images simply didn't work well.
Here's Val's design using a bleach pen.....
I think this was Kate's....the bleach pen worked almost instantly on this hand-dyed fabric.
I concentrated on using mainly silk noil....which may account for the mostly disappointing results.  However, this method worked much better.  When using the discharge paste that Judy brought, we initially found the impressions were too indistinct when working with stencils because the medium migrated under the stencil designs.  

This group is so clever....and came up with the idea of placing the stencil on the fabric and then covering it with a blank silk screen.  This kept the stencil flat and firmly on the fabric as the paste was pressed through the screen.

Thie view of this piece is after screening, while it dried outside.
Once the paste dries, it's transformed by pressing with a hot iron (wear a mask).  The bottom tree images purposely had more heat applied than the top one to provide different appearances.

On the lower right of this crackled design, you can see where the hot iron has completed its work......while the balance awaits more pressing OR not. That's the beauty of this method......the color changes can be manipulated.

It was a fun day.....and I have a small pile of poor results that will be my base fabric at our next meeting where we will yet again tackle deconstructed screen printing.  We all just love the process and do it about twice a year.....even if we don't know what to do with the treasures we create!

Friday, January 29, 2016

THROUGH THE GARDEN GATE

It's such a validation when someone gives one of my pieces the honor of hanging in their home.  Thank you Eleanor!  

I'm preparing for a large, two month exhibit at the North Carolina Arboretum in Asheville, NC which begins in April.  If like Eleanor, you've had your eye on a piece in my gallery.....consider making a decision soon..... many of the pieces will be unavailable shortly. 
THROUGH THE GARDEN GATE 15.25" X 25.75"
Artist hand-dyed, ice dyed, and deconstructed screen printed cotton. Machine stitched.  
Detail


Wednesday, January 6, 2016

SCREEN PRINTING ON FELT ONLINE CLASS

Ruth Lane at Felting and Fiber Studio will be offering a screen printing on felt online class.  She's a very talented felter who is incredibly generous with her vast knowledge.  Click here to learn more. 

Hurry, it begins Jan. 22nd.

Screen printed notebook cover, made by Ruth Lane.

YOU WON'T BELIEVE WHAT THIS IS!

So.....looking at this......you may think it's an interesting deconstructed screen printed design, right???   Wrong!

This is an image of Orlando, FL, taken by NASA in 1982!! Perhaps we could simply explore their hundreds of online photos taken from space and print them out on fabric?!?

Na......since nearly 100% of the deconstructed screen printing I do is with the Fiber Junkies......I'd miss the fun we have together.


Tuesday, January 5, 2016

FOCUS ON NATURE - PART 2


Yup....that wonderful uneven hole in the agate seemed like the perfect space to show off additional beads!  I enjoy creating dangles that feature interesting 'focal' beads at the end.
 Stacking beads to create clumps can be useful to add texture and depth to one's work. I puzzled for quite awhile about how to handle the many images screen printed onto the silk noil. Often times deconstructed screen printed fabrics are very busy and difficult to work with.  In the end, I decided to incorporate simple hand embroidery to highlight some areas and help pull the less interesting ones back into the visual mix.
FOCUS ON NATURE  14" x 11"    © 2016
Deconstructed screen printed images on silk noil, bead embellished, hand embroidered. Mounted on canvas covered fabric backed frame with a hanging device.

*Note - the beads around the agate appear redish in this photo, however the  actual color more closely matches the orangey dyed scrim. 

Monday, January 4, 2016

FOCUS ON NATURE - NEW WORK FOR 2016

Well...here we are in 2016!! And that finds me finishing a previously started small piece of wall art. 
 The inspiration was this piece of deconstructed screen printed silk noil.  
 After isolating a section that would best coordinate with this interesting blue agate slice....the stabilized fabric was fitted into a Q-Snap frame. Beading in a frame provides ample support for this heavy object and it helps avoid fabric distortion during that process.

The beads are stitched in a specific pattern that creates a cage which holds the agate in position. The hole in the slice is simply too tempting......it is screaming for attention. Do come back tomorrow to see how it is enhanced.

Friday, October 9, 2015

THROUGH THE GARDEN GATE - NEW WORK

Awhile back, I made a piece that had the feel of a Frank Lloyd Wright Prairie Style window or at least that was my impression.  You can see it here.
I set out to try a similar yet different approach, inspired by this flat dyed mercerized cotton. It was dyed in about 3 mins. by squirting leftover dye...thus the color scheme.
This hunk of cotton was ice dyed.
And this is 4 sections of deconstructed screen printed designs. One of the Fiber Junkies has a wonderful thin metal gear/washer looking thing that we all love to use for this technique. It inspired my idea to feature circles.
The background was stitched to give the appearance of tall grasses. A few of the deconstructed circular motifs were isolated and surrounded with 1/4" strips of the green ice dyed fabric.  

Then I spent far too much time auditioning various arrangements of narrow strips as seen above and below......
......You are being spared ALL the variations......and we'll go right to the final one below.
THROUGH THE GARDEN GATE - 15.25" x 24.75"  © 2015
AVAILABLE HERE (also a larger view)
Hand-dyed, ice dyed, and deconstructed screen printed cotton. 
Machine stitched.
Detail

Linking to:  Nina-Marie's Off The Wall Friday, Whoop, Whoop Friday, Crazy Mom Sews, Richard and Tanya Quilts.

Sunday, May 31, 2015

DISAPPOINTING DECONSTRUCTED SCREEN PRINTING

Well.....here's the bad results of my deconstructed screen printing. It was clear after the first print, that using the right side of this white on white was not going to work. So I began printing on the reverse side.
 Reverse side
 Right side
 Reverse side
 Right side
You get the idea.....yuck.  This is the only piece that I didn't smear with additional dye after seeing how poorly the fabric was printing.

So....what went wrong?  Here's my suspicions.  First, though I've seen good results printing on white on white......the fabric pattern of mine was very densely printed...leaving very little room for the dye.  Apparently, the dye doesn't want to adhere to the white design.

I'm also guessing the soda ash wasn't able to be absorbed.....because even after batching, a lot of the dye washed out.

I'm not despairing......the fabric will be a great start for future Fabric Junkies technique play days.

Saturday, May 30, 2015

FIBER JUNKIES - MAY DECONSTRUCTED SCREEN PRINTING

Summer has arrived....and that means the Fiber Junkies will be getting messy for the next couple of monthly meetings.  The sun was shining, coffee was in hand....ready, set, go....
Some members were also doing disperse dyeing.....so we had drying racks set up.....
 Here's Val, our gracious hostess and very talented screen printer with her extensive screen collection.
 Aren't we lucky??  Each of us has our own large table.
 After accumulating stacks of small, unrelated dyed/printed/painted pieces of fabric, I'm now determined to work in a narrower scope in order to create fabrics that coordinate better.
 As seen on this screen that's drying, my theme for the day was foliage.  
 Time passed quickly and pretty soon the driveway was covered with drying screens.
 After lunch and show and tell....we were ready to print.  The thickened dye paste is already spread onto my screen which is positioned on a length of fabric (previously prepared with soda ash.)
Sad to say.....this day yielded the worst deconstructed screen printing results I've ever had.  As you can see.....it's a mess. So I'm now in the process of smearing it with raspberry dye in hopes of perking it up.

Stay tuned, next I'll post some photos of the disappointments......and my analysis of what I think went wrong.